Bandai EG Gundam / Booster Bed 1/144 Bandai EG ᅥᆫᄀ Gundam / Booster Bed 1/144

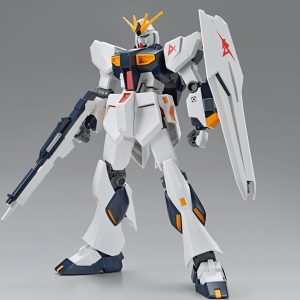
Nex-6 / iPAD pro /XR Di-II 17-50 F2.8 Converted & Edit Capture One 20 (for Sony) 01. 립···… It’s been a while since I posted a bandai product. Today’s posting is an entry-grade product that belongs to a relatively modern kit, and it becomes a booster bed, a product used with New Gundam…
On the day of its release… I could have gone to Kenbei… well, you know, I don’t want to go into the blood clot scene… so after a couple of weeks… I wonder if I’m already in a stable period… I could carry the product on my back relatively easily. I was thinking about buying RG, which was released with me, but it seems like RG is still stuck in the stocking boom… and I’ll put it off.

The entry-grade and real-grade New Gundam released this time is not a traditional Char version of the counterattack, but since then, it has been set up as a London Bell unit’s Amro Ray exclusive, so it’s a slightly redesigned version.
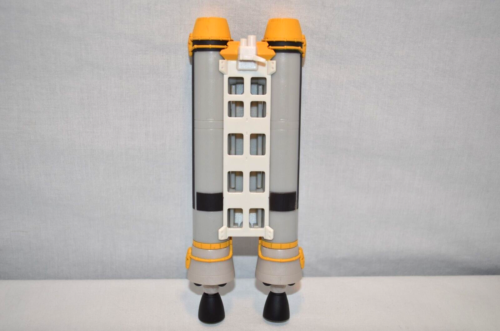
In the next posting, I’m going to build this booster bed and put it up together… this is a really long-awaited product… but this is HG, not EG… so while launching this series as one RG and one EG, the bed was commercialized with HG, which can both be used in the middle.

Let’s start with the entry-grade version of New Gundam…
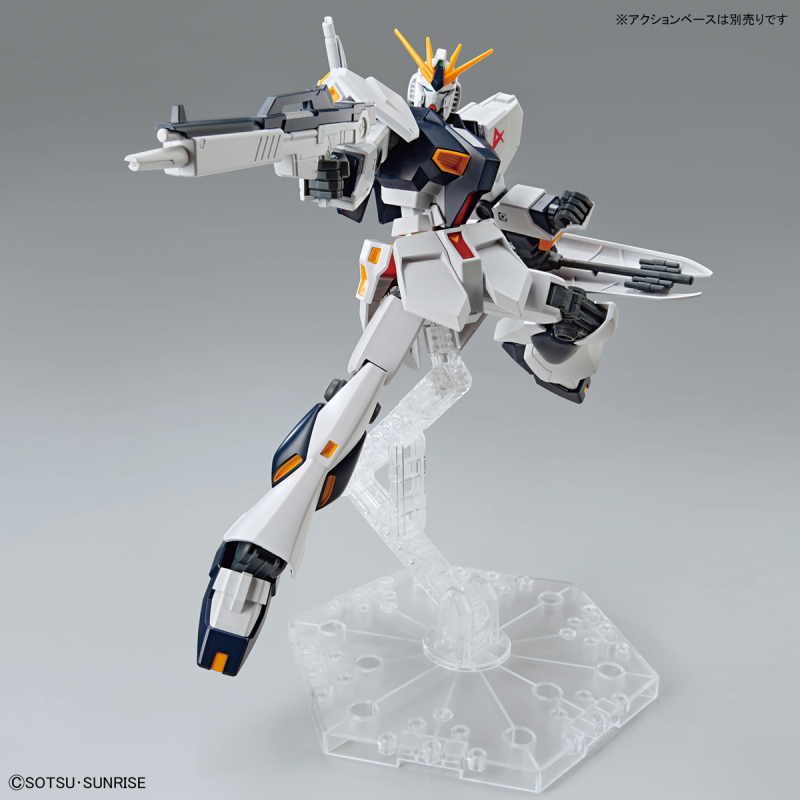
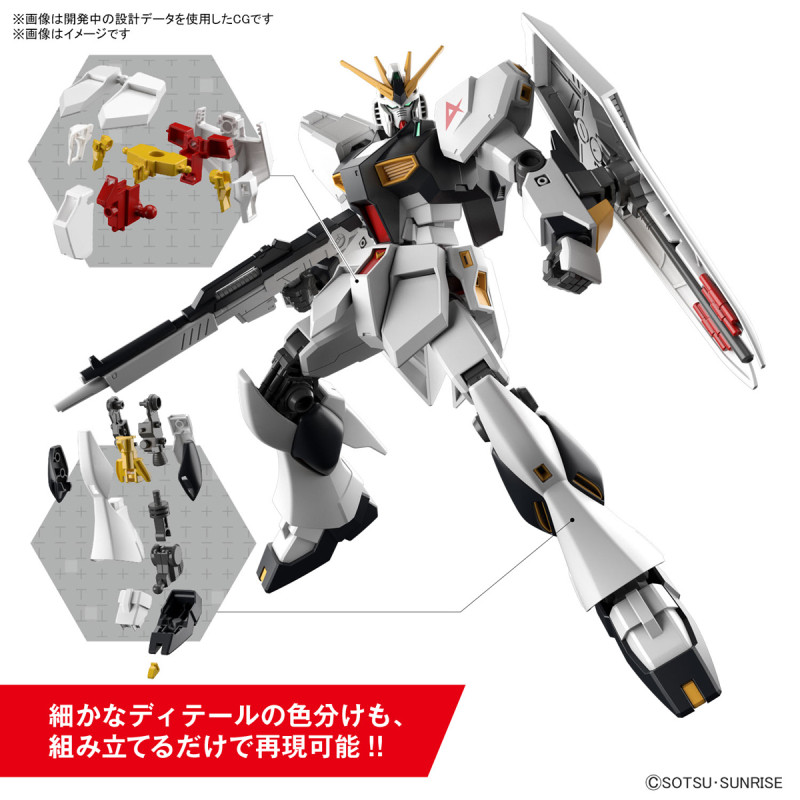
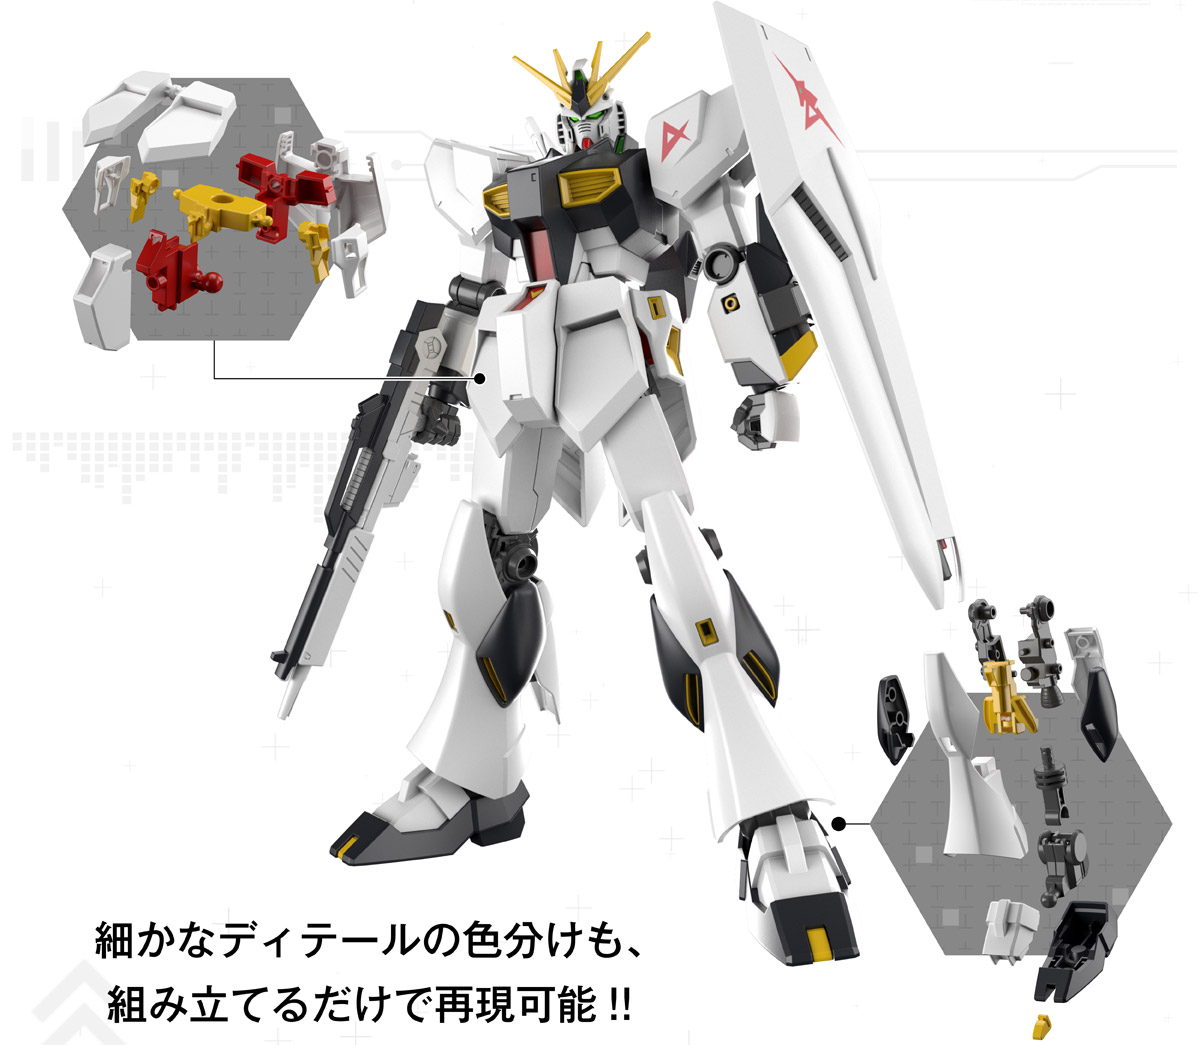
I don’t know if it’s because all the recent mold design technology has been applied… At this rate, it’s an EG version that shows the number and configuration of parts as many as the previous HG.
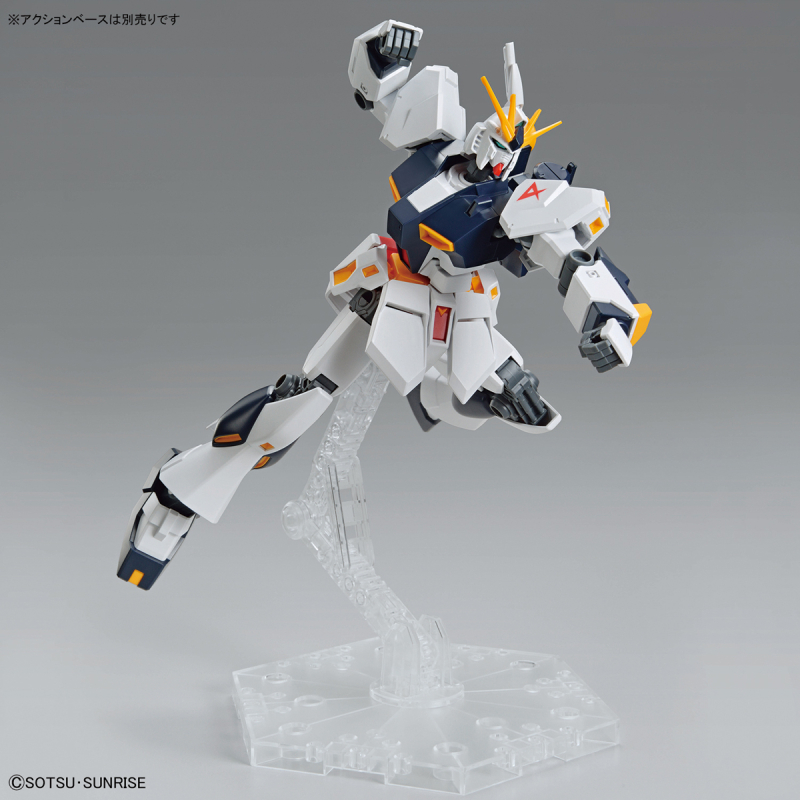
First of all, we only start making the head and the body part. The structure and the structure of the mold are extraordinary.
The gate can be removed by hand… It seems to be an easy-to-build product… but it’s still better to remove it with a light nipper.

The remaining traces of the gate are organized using glass lines…

The composition of the head is easy to paint, but it takes a little bit of excitement around the eyes.
As for the body parts… It’s quite easy to assemble. Well… some groups have disappointing parts or visible parts of the sky, but it seems to be more than the name entry grade.

Even though only the upper body is assembled, a fairly strong proportion appears.
Next, I put my arms and skirt together…

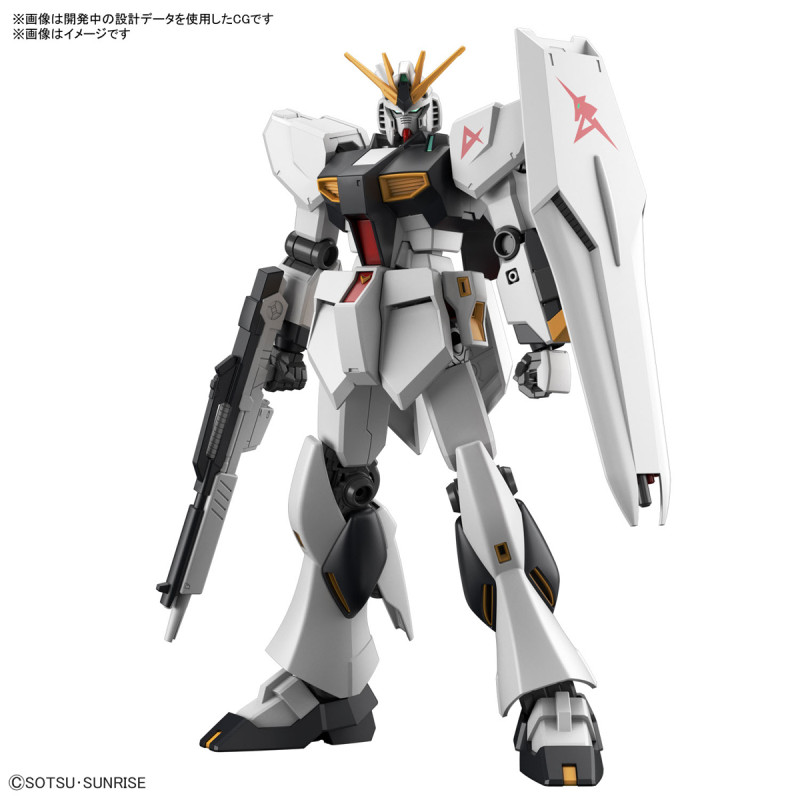
All parts including shoulder armor can be separated and assembled in order to paint arm parts as well. Well… in a way… the convenience of painting was better than that of the recent HG.However, even if you wear all the gloves on the skirt, the internal composition will appear… It’s better to correct them.The upper body is assembled… It’s not all bad… I’m really curious about the empty waist…Continue to assemble the foot parts.The legs are also largely divided into three blocks, making the paint look relatively comfortable.Now… I’m standing on the ground… It feels bigger than I thought. Well, the setting of New Gundam…Finally, we try to build up the armament and booster behind us.The composition of the panel and the armament is very different… I can’t see the pin panel in the back that looked like a symbol of the basic New Gundam.Anyway, I finished assembling… Let’s take a look…The fixed part of the shoulder is a little loose… It’s a frame-type structure that’s relatively easy to get a proportion, so if you fix it well, you can really pose.The armament behind me is said to be armed, so it’s a bit unbalanced… but… well…Once again, I feel… New Gundam… It’s pretty big on this scale…Maybe it’s because it’s the last Amuro plane in the anime series… The T-shirt I made with great care… It definitely flies.So I lined up First and New Gundam of the same EG product… This is… I wonder if there is a difference in scale… There is a difference in size… Amuro asked for such a large aircraft… EG First isn’t that bad either… It’s true that the configuration and style applied to New Gundam are different. Then, in the next post…The Force is with me, and I am one with the Force copyright. ⓒ 2022 ANAKIN All Rights Reserved.


